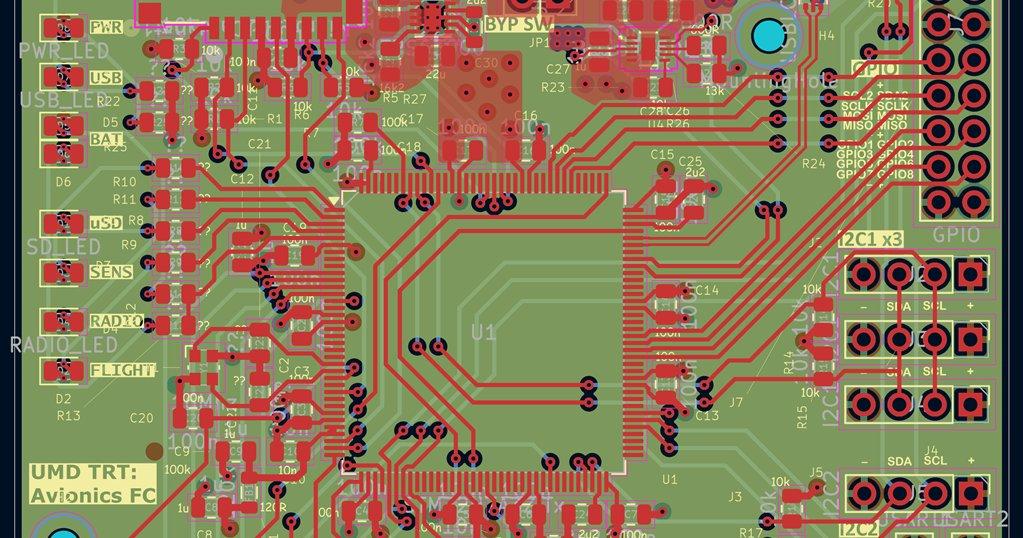
A small script we built to take some of the repetition out of KiCad silkscreen work, now released for anyone to use, inspect, and improve.
1. Why We Built It
Silkscreen is one of those layers that rarely gets the attention it deserves until something goes wrong on the assembly line. Getting reference designators placed, oriented, and sized so they are actually readable, while keeping them clear of pads, holes, and the board edge, is fiddly, repetitive work. On denser boards it can eat a surprising amount of time near the end of a layout, exactly when you least want to be doing it.
We ran into this often enough internally that we wrote a small script to handle the repetitive part of it in KiCad. It started as a convenience for our own work. It turned out to be useful enough that we thought it was worth sharing, so we are releasing it as open source.
2. What the KiCad Silkscreen Generator Does
The script focuses on the mechanical, repetitive parts of silkscreen preparation: the work that follows fixed rules and does not need design judgement. In short:
- What it generates or adjusts: It places a reference designator label for every footprint that has one, on the front or back silkscreen layer to match the part. For each part it picks a spot beside the component and an orientation: horizontal by default, vertical where that fits the space better. If a label has to sit away from its part, the script draws a thin pointer line back to it. Rows of similar parts, such as a bank of resistors or a strip of headers, are treated as a group so their labels follow the same convention.
- What inputs it uses: A KiCad board file (
.kicad_pcb). The script reads the file directly, so working out the placement does not need KiCad to be open. Text height, how far a label may sit from its part, and the clearance margins are settings at the top of the script. A command-line flag turns off the fallback that lets a label sit over a trace covered by solder mask. - What repetitive work it removes: Hand-nudging each designator off pads, vias, neighbouring parts, and other labels, and keeping all of it inside the board outline.
- How it fits your workflow: Run it on a laid-out board. It writes a new board file beside your original and leaves the original untouched. It also writes the label positions as CSV and JSON, plus an interactive HTML view of the result, so you can check placements before you open KiCad.
- Known limitations:
- It handles reference designators only. Value text and any other silkscreen text are not moved.
- One text height applies to the whole board. It does not shrink text for individual parts.
- In very dense areas a label may end up some distance from its part, joined by a pointer line. If no legal spot exists at all, the label is parked outside the board outline for you to place by hand, so nothing is silently dropped.
- Label size is estimated from the character count, so text rendered in KiCad can differ slightly from what the script assumed.
- Through-hole parts are labelled on the front side.
- The step that writes the board hides each footprint’s own reference text and adds board-level text in its place. On a re-run it clears the labels and pointer lines from the previous run, and it recognises pointer lines by their width, so very thin silkscreen lines of your own could be removed as well. Compare the output with your original the first time you run it.
- Runtime grows with part count: from a few seconds on small boards to around a minute on boards with close to a thousand parts.
A tool, not a decision-maker
The script produces a starting point that you review and finish yourself. The final silkscreen is always the engineer’s call. It handles the repetitive placement, and the judgement stays with you.
3. Why We Open-Sourced It
Two reasons. First, this is a genuinely useful standalone utility that has nothing proprietary about it. It solves a common KiCad task, and there was little reason to keep it internal.
Second, we would rather engineers be able to read the code than trust a black box. If you can open the script, see exactly what rules it applies, and change them to suit your own conventions, then it is a tool you can actually rely on rather than one you have to take on faith. We would much rather have people inspect it, file issues when it gets something wrong, and improve it than treat it as something to be used blindly.
4. How to Use It
The workflow is short:
- Clone or download the repository from GitHub.
- Make sure you have Python 3 and a KiCad installation. We have run it with KiCad 10. Working out the placement is plain Python, and the final step that writes the board uses the Python interpreter bundled with KiCad.
- Run it on your KiCad design. Running the script with
--helplists every option. - Review the generated silkscreen against your own layout.
- Make any final edits by hand before sending the board to fabrication.
5. Example: Before and After
A quick visual probably communicates the value better than any description. Below is the same board before and after running the script.
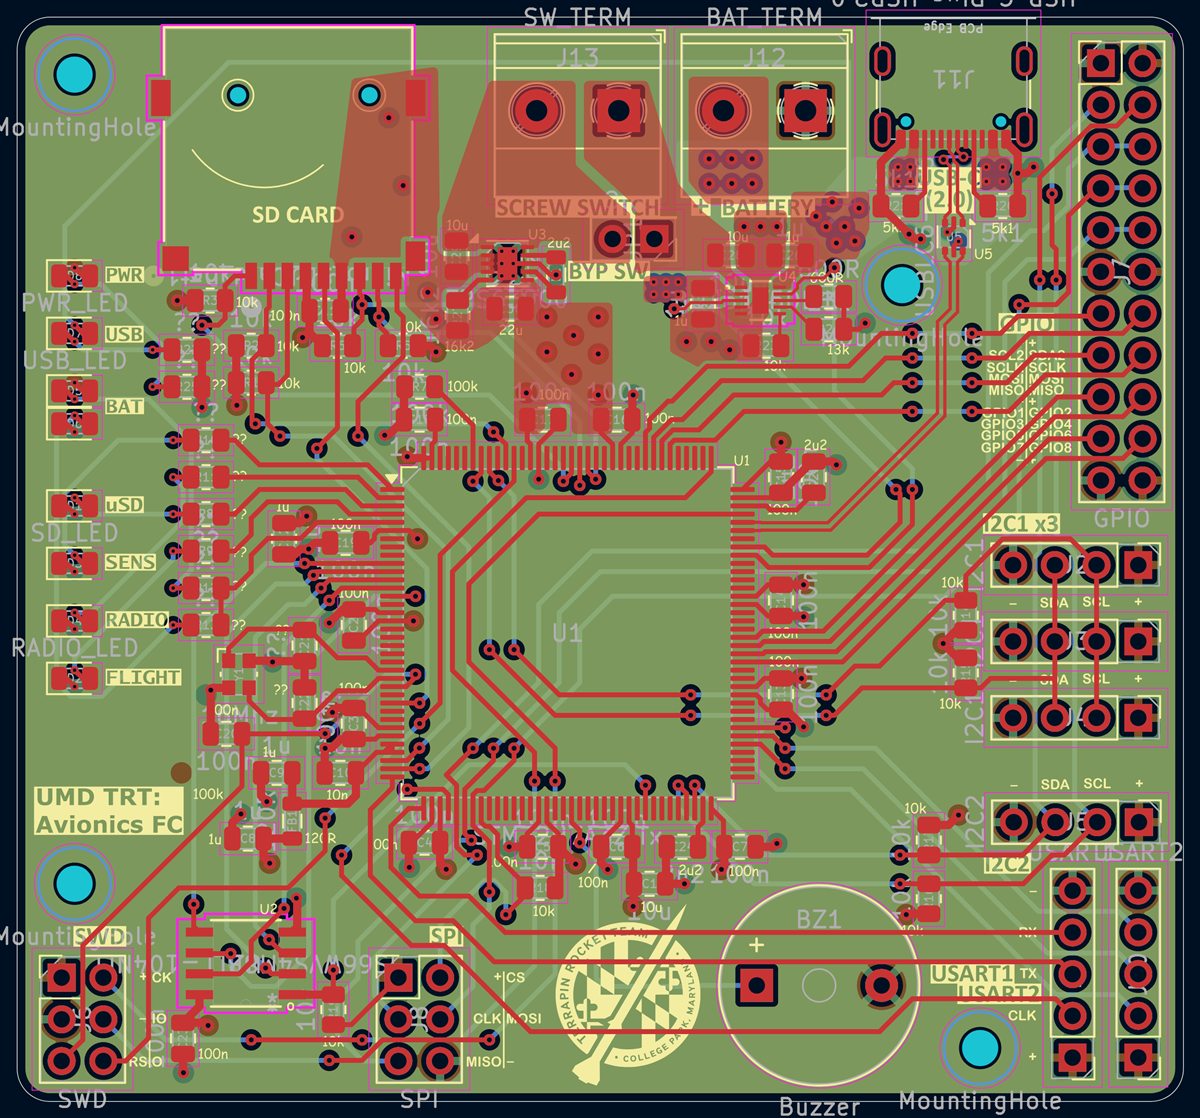
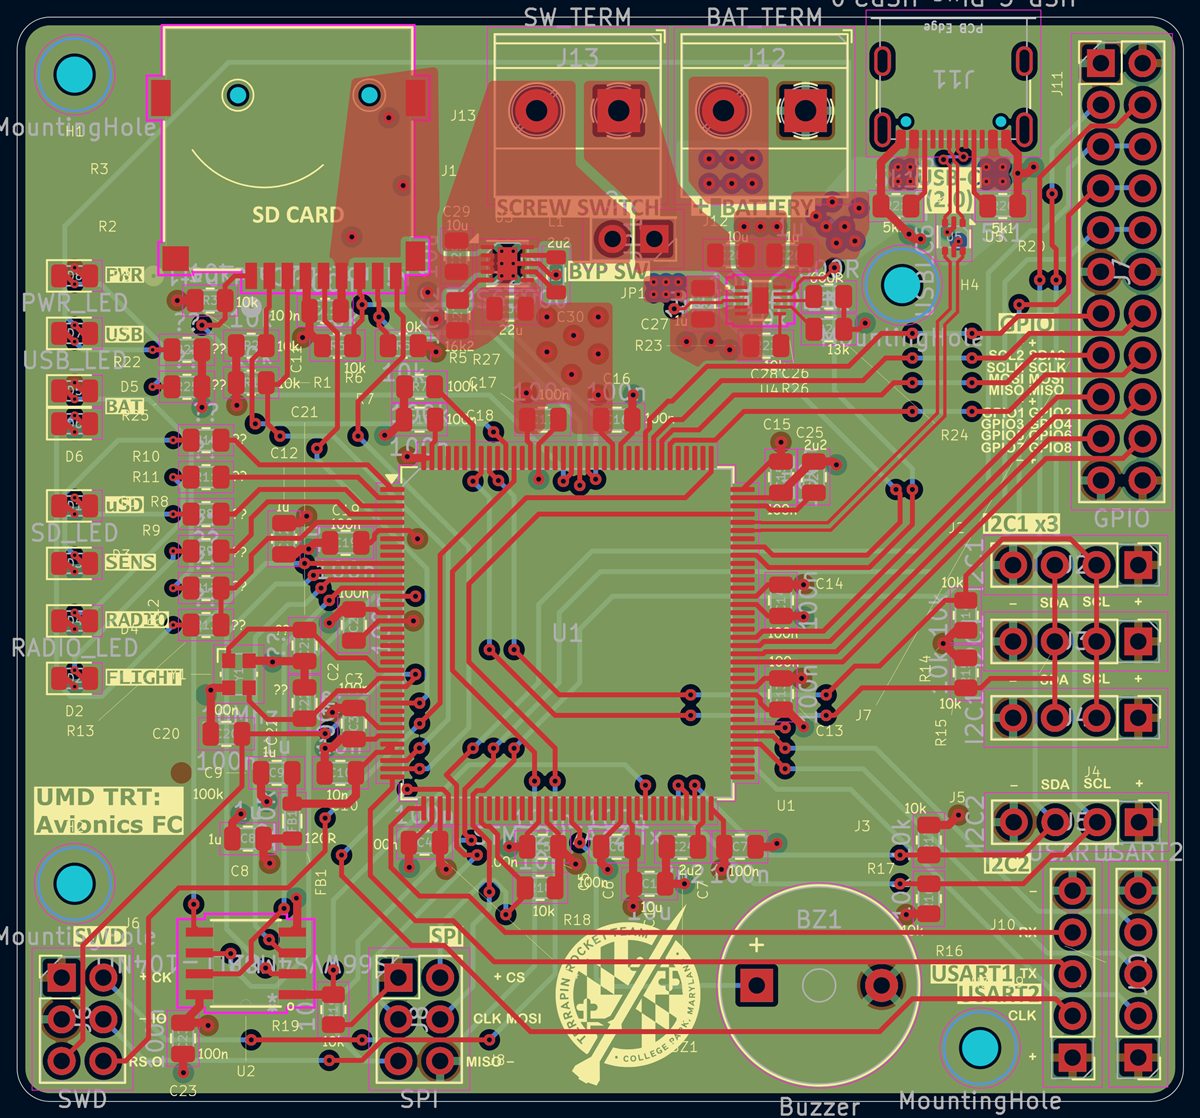
The whole board with its original silkscreen on the left, and the generator’s output on the right. No manual touch-ups were made.
6. Get the Open-Source Tool
The script is on GitHub. Issues and pull requests are welcome. If it gets something wrong on your board, we would like to hear about it.
View on GitHub